Why Floor Prep Gets Value-Engineered (And What It Costs When It Does)

Updated: Apr 23
It never gets cut from the scope outright. It just gets… trimmed. A little less grinding here. Skip the skim coat there. The self-leveler feels expensive when the budget is tight and the deadline is closer than anyone planned for.
Floor prep is the part of a commercial flooring project that's easiest to cut because it's invisible. Nobody sees it. Nobody photographs it. It doesn't show up in the project reveal. And when it works, nobody mentions it.
When it doesn't work, everyone notices.
What floor prep actually is
Before any flooring product goes down, the substrate has to be ready for it. That means flat, clean, dry, and structurally sound. In practice, getting there involves a combination of grinding, shot blasting, patching, skim coating, moisture mitigation, and self-leveling compound, depending on what the site conditions are.
The spec tells you what product is going on the floor. Floor prep is everything that makes the product perform the way it's supposed to once it's there.
It's not glamorous work. It's also not optional, even when it gets treated that way.

How value-engineering happens in practice
The sequence usually goes like this. A project comes in over budget. The team goes line by line looking for cuts. Flooring prep is a significant line item with no visible deliverable, which makes it an easy target.
The self-leveler comes out. The moisture testing gets reduced to a single reading in one corner. The grinding spec gets loosened. Each cut looks defensible in isolation. Together, they set up a floor that's going to move, bubble, delaminate, or crack, usually within the first year.
Nobody in that budget meeting is thinking about year one. They're thinking about this month's cash flow and getting the project closed.
What substrate problems actually cost
A flooring failure after handover is not a flooring product problem. It's almost always a prep problem. And by the time it shows up, the project is closed, the trades have moved on, and someone has to figure out who owns it.
Remediation on a failed commercial floor is expensive in ways that don't show up in the original value-engineering math. You're not just replacing the floor. You're coordinating access in an occupied building, moving furniture or equipment, managing tenant or staff disruption, and absorbing the warranty dispute that comes with it.
A self-leveling compound application that got cut from the original scope to save a few thousand dollars can turn into a remediation project that costs three or four times that, plus the relationship cost with the client who now has a problem in their building.
The savings were real. For about eight months.
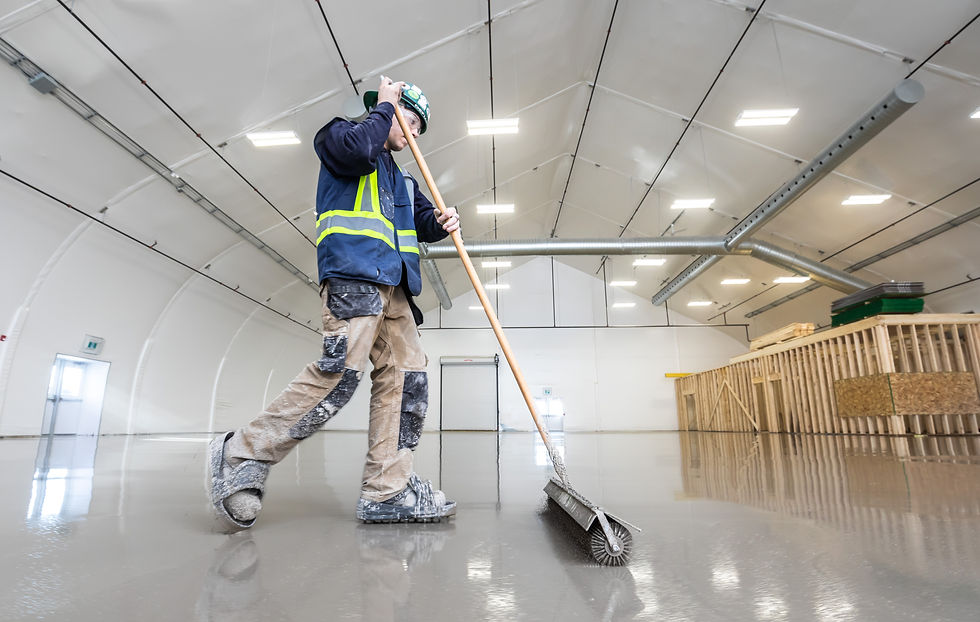
The substrate conditions that catch people off-off guard
Every site is different, but a few conditions show up consistently and consistently get underestimated.
Concrete moisture. Concrete slabs release moisture vapor for years after the pour. In Alberta, temperature swings and building envelope conditions make this worse. Flooring adhesives and certain LVT products are highly sensitive to moisture. A slab that tests fine in October can behave differently in March. One reading at tender doesn't tell the full story.
Existing adhesive residue. On renovation projects, old adhesive left on the slab from previous flooring is one of the most common prep headaches. Cutback adhesive from older vinyl tile contains materials that can interfere with new adhesive bonding. Grinding it out properly takes time. Skipping it takes less time, until the new floor starts lifting.
Flatness tolerances. Most commercial flooring products have flatness requirements measured in fractions of an inch over several feet. A slab that looks flat to the eye often isn't flat enough for a tight LVT installation. High spots and low spots that don't get addressed before install show up as lippage, peaking, or gapping in the finished floor.
None of these are surprises if someone's looking for them. They become surprises when the site assessment was rushed or the prep scope was cut before anyone walked the floor carefully.
What good floor prep looks like in practice
A thorough pre-install process starts with a substrate assessment before the product order is finalized. Moisture readings across multiple points on the slab, not one. A flatness check. Documentation of any existing conditions that need to be addressed.
From there, the prep scope gets built around what the site actually needs, not what looks reasonable on paper. If self-leveler is required to hit flatness tolerances, it goes in the scope. If moisture mitigation is warranted, it gets specified and priced, not flagged as optional.
This is also where preconstruction involvement matters. A flooring contractor who walks the site before tender can price the prep accurately the first time. One who prices off drawings and finds out what the slab looks like when they mobilize is either absorbing the cost or fighting for a change order.
Neither outcome is good for the project.

The conversation worth having early
Floor prep isn't where a commercial project should be looking for savings. It's where the project either sets itself up to close clean or sets itself up for a problem nobody budgeted for.
The GC project managers who avoid flooring failures aren't just lucky with their substrates. They're the ones who pushed back when prep got cut, asked the right questions during preconstruction, and treated the substrate assessment as a real deliverable rather than a formality.
The floor is only as good as what's underneath it. That's been true since 1997, and no value-engineering exercise has changed it yet.
Universal Flooring Systems has completed 6,000+ projects across Southern Alberta and Interior BC. Substrate assessment and preconstruction planning are part of how we work, not an add-on. Reach out if you want to talk through what prep looks like on your next project.